How-to Guide
Make Payaca's AI sound like your company
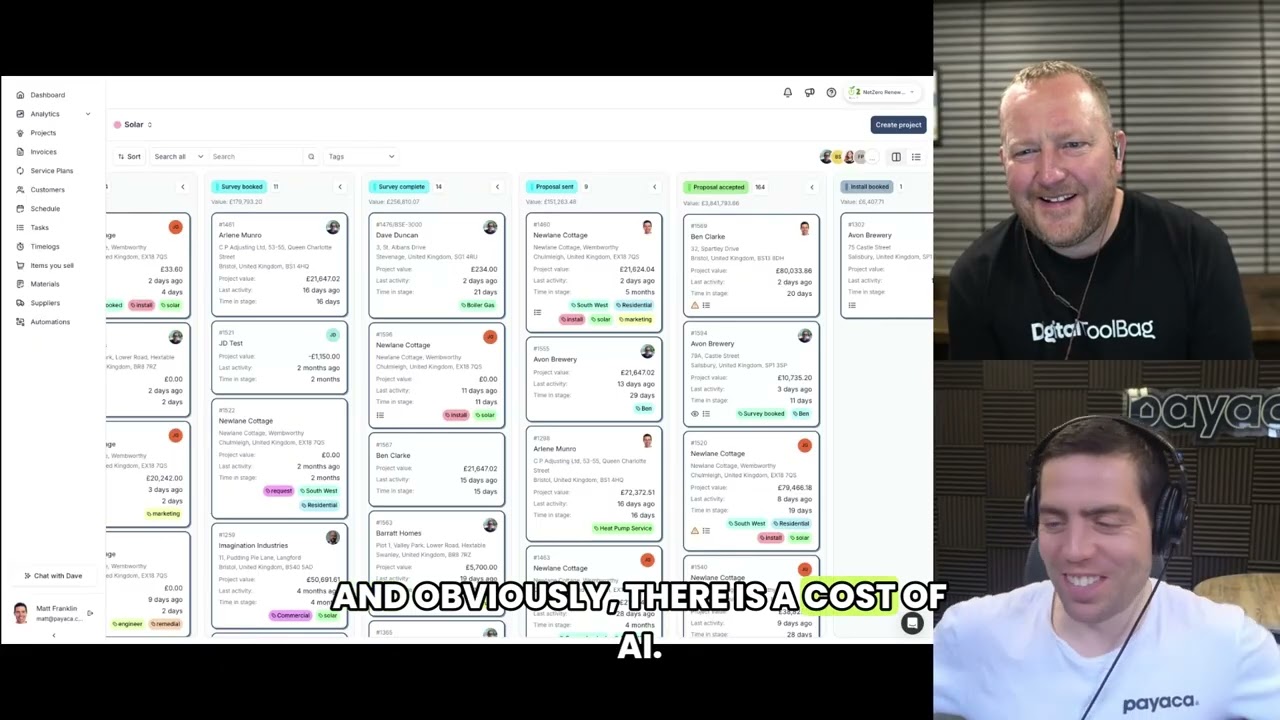
Agent Dave now takes standing instructions - tell Payaca's AI assistant how your business works once and it applies that context to every conversation. A setup guide with example instruction sets for heat pump, solar and service-plan installers.
Jamie Duncan
July 27, 2026